If you want to better your catching rate when you go fishing, there is plenty of stuff that you need to take into account, and one of the matters that you have to consider is learning how to snell a hook.
The reason for the invention of snell hooks is eyeless hooks, and the two main types of it are the uni knot and the traditional snell knot.
It is usually used these days for angled and offset eye fishing hooks to make sure the line’s alignment is to the point of the hook.
Usually, you can have hooks pre-snelled on monofilament fishing lines. However, some fishers, including me, like to Snell hooks, especially when using fluorocarbon and braided fishing leaders.
Tying a hook does not require a lot of time, as it only takes a few seconds to snell a hook. So let us now proceed further, and let me now introduce the materials we need for this hook fastening tutorial.
How To Snell A Hook: Material Needed
- Fishing Hooks
- Fishing Line
- Scissors
There are only three pieces of equipment for this tutorial that you will need to prepare. If you are a regular angler, you may already have them in your tackle box. What materials will you need? Let’s see in detail:
1. Fishing Hooks
This piece of metal is what you will use for catching fish by impaling their mouth. There are several types of hooks from different brands available now in the market, and they all come in different sizes too. The best hook that you can use mostly also depends on the type of fish that you are targeting.
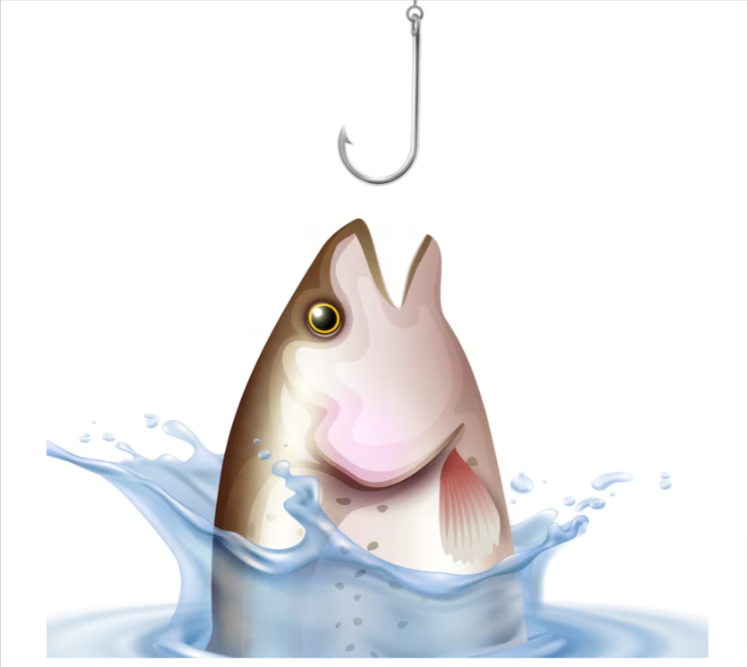
The hook type that I typically use is the circle hook. Many anglers are familiar with this kind of hook. It is known for being a great choice for both freshwater and saltwater fishing. What I usually have in my fishing tackle is the Circle Offset Point Octopus Hook, you can use whatever type of hook you already have.
2. Fishing Line
This material is the device to which you will attach your fishing hook. Monofilament, braided, and fluorocarbon fishing leaders are the types of fishing lines that you can use.
I suggest you use fluorocarbon or braided fishing lines if you want to use a fishing line that you will Snell to your hook.
These two kinds of lines are what I typically use. More specifically, I use Seaguar Blue Label Fluorocarbon Leader. I like fluorocarbon lines since they have little memory. Braids are excellent fishing lines.
They also have strong fibbers. However, they are also opaque, so line-shy fish may easily notice them.
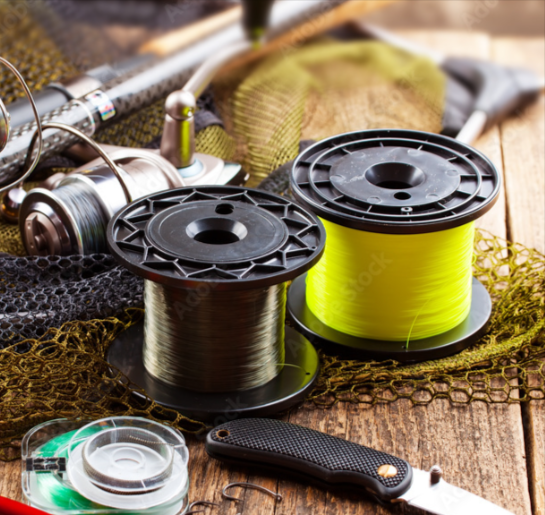
Monofilaments are good lines as well. They are also translucent, which makes it hard for fish to detect them. However, I seldom use them because they are quite stretchy. Berkley also has its unique type of fishing line, which is called Nanofil.
3. Scissors
You will use this tool when you have to cut the excess line when you sell your hook. There is no particular type of scissors that you should use for this tutorial.
You can use any scissors provided that the one that you will utilize can help cut the extra line when you tie your hook.
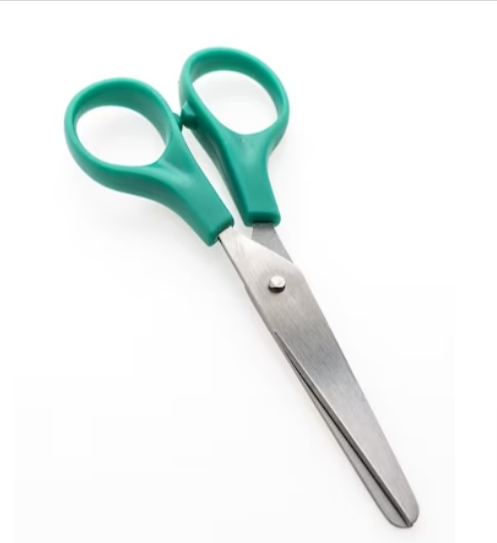
Some anglers also use other cutting materials as an alternative, such as pliers. You can even use nail cutters.
How To Snell A Fishing Hook: 2 Easy Methods
Here step by step guide on how to snell a fishing hook:
Method 1
This first method that I am about to share with you is neither the uni knot nor the traditional Snell. However, it is the primary knot in a simple version. Grab your fishing gear and tackle as I discuss the three steps for this method.
Step 1
The very first step you have to do is get the line’s tag end and grip it. After that, hold your hook and slowly run the tag end of the line through the hook’s eye. Make an allowance of at least four to six inches of your fishing line and put a little loop aligned with the shank of the hook.
Step 2
The next step that you need to do is to wrap the tag end of the fishing line starting from the shank of the hook up to the eye. You have to ensure that the lines are not overlapping each other while you are wrapping the line’s tag end, and they should be parallel side by side.
You need to make at least five to seven wraps and grab the line’s tag end, and it should pass through the loop you made in the first step.
Step 3
After you insert the line into the loop, you need to tighten it by pulling both ends of the line. You have to ensure that the wraps are in their correct place and neatly firm in the shank of the hook. After that, cut the extra line to have a perfect Snell knot.
Since you already have a snell knot, the point of your hook is now straight up, which is perfect for any fish’s mouth. Thus, it helps you to capture more fish.
Remember that if you sell your fishing hook on with your knot, and it is not straight with your fishing line, it may just spin in the water, and you will not be able to attract fish.
Method 2
Professional anglers invented most of the versions of tying lines to fishing hooks. As a fisher, I have learned one of these versions with my fishing knots and rigs. Aside from the first method that I have been practicing’s, I have also mastered the second method that I will be discussing. Let’s proceed now to the second method.
Step 1
The first thing that you should do for this second method is to cut the leader line based on what length you want. Get your fishing line’s tag end and slowly put it through the eye of the hook from front to back. It should follow through with the shank.
Make an estimate of the fishing line’s length in the shank of the hook.
Step 2
Hold the hook’s shank firmly with your leader line’s tag end. After that, you can now start wrapping seven to eight times, beginning from the shank up to your fishing line’s near end.
You need to be certain that the lines are not overlapping with each other while you wrap. Make them correctly parallel side by side.
Step 3
Right after wrapping the hook’s shank, get the other ending of the fishing line and put it slowly into the eye of the hook from back to front.
Step 4
Lastly, move your leader line’s other end steadily as you hold the hook to tighten it and provide you a firm grip. This step is the most essential in this method, so you have to make sure that the knot is firm properly in the shank of the hook.
Cut the excess tag end so you can have the exact Snell knot that you need to improve and increase the number of fish you can catch.
Related Reads :
Conclusion
That is almost everything that you need to know for this tutorial. I believe you will agree that the two methods are simple and easy.
As long as you are following the steps that I discussed in this article, along with your passion and willingness, you can surely become skillful in fastening your hooks to your line. I hope this other writing piece of mine has helped you to learn how to tie hooks. I also wish that you could now catch more fish with your Snelled hooks.
If you have something on your mind that you want to share on how to snell hook-like easy strategies that you know, please feel free to post your insights in the comments section below.
Also, don’t hesitate to share this tutorial with your friends.
FAQs
You might believe the Snell knot is irrelevant or unnecessary because the majority of fishing hooks available now have holes in the eye for the line to flow through when tying a knot. The truth is that this method of joining your leader or main line to your hook is still quite effective.
Since a sharper hook makes it simpler for the blade to be tucked in fish flesh, all good anglers are aware that they should use sharp hooks. Sharpening hooks, however, is one of fishing’s most routine tasks.
The knot (/nɒt/) is a unit of speed equal to one nautical mile per hour, exactly 1.852 km/h
